Water heaters play a central role in the day-to-day routine of every household. When you’ve noticed a lack of hot water, your pilot light might be causing the problem. With the right tips, you can get your pilot light back on and your water heater working quickly. If your water heater pilot light won’t stay lit, use these tricks to get it going again.
Check out our video on the topic to learn more:
What Is a Water Heater Pilot Light?
The water heater pilot light is a small gas flame that ignites the main burner, heating your water. You’ll also see pilot lights in furnaces and some stoves. The pilot light stays lit continuously so the main burner can start up whenever needed. Your water heater’s pilot light is connected to a gas line. It usually ignites automatically or with the push of a button, but sometimes it goes out. Keeping your pilot light on is essential for maintaining your water heater’s life.
How to Know if the Pilot Light Is Working Properly
You should know how to check your water heater’s pilot light. Understanding your pilot light lets you check for issues and catch them early before problems become inconvenient. Find your pilot light and inspect it to ensure it’s working. If you’re pilot light is working correctly, it should be:
- On continuously.
- Blue, not yellow or orange.
- Steady and strong, with no flickering.
If your water heater pilot light is out or you notice unusual colors and a weak flame, you probably have a pilot light issue. Regularly check your pilot light for issues and contact a professional if you see a problem.
Reasons Why Water Heater Pilot Lights Go Out
Sometimes, pilot lights go out. When you lose your pilot light, it can affect your home’s comfort. You might not have hot water for showers, laundry or dishes. Getting to the root cause will allow professionals to get you the proper fix. If your water heater pilot light keeps going out, you’re probably dealing with one of these issues:
- Thermocouple issues: The thermocouple is a safety device that detects a pilot light outage. If the light goes out, the thermocouple shuts off the gas supply. If the thermocouple is misaligned or faulty, it might shut off the gas, thinking the pilot light is out. Thermocouple issues can be caused by wear, dirt or corrosion.
- Drafts and ventilation problems: Strong drafts and poor ventilation can blow out your pilot light. Windows, doors and open vents can all cause this issue. Ensure the area around your pilot light is draft-free and that there’s good ventilation.
- Dirty pilot tube: Dirt, debris and dust can accumulate in the pilot tube. This buildup can obstruct gas flow and weaken the pilot flame. Weak flames are easier to put out, creating pilot light issues.
- Condensation: Condensation can form in humid environments, getting inside your appliance. Water droplets can drip into the pilot light, putting it out.
- Issues with gas supply or gas lines: Blockages, leaks or inconsistent gas pressure can cause problems with the gas supply. Gas line issues need professional attention to ensure everything’s okay with the supply.
How to Relight Your Water Heater Pilot Light
If you’ve got an extinguished pilot light, you’ll need to relight it to get your water heater working again. Relighting the pilot light is fairly straightforward — just ensure you follow recommended safety instructions to protect yourself. Use these steps to safely and quickly relight your water heater’s pilot light:
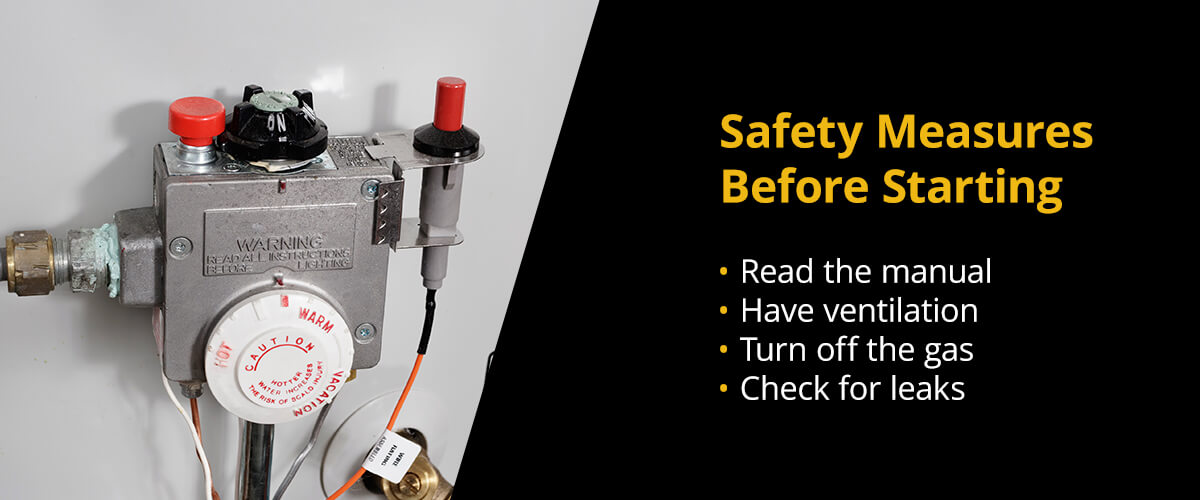
Safety Measures Before Starting
Before relighting your pilot light, ensure everything’s safe. You’ll need these tools to start:
- Flashlight
- Long-handled lighter or match
- Screwdriver
Stay safe while lighting the pilot light with these tips:
- Read the manual: Use your water heater’s manual to relight the pilot light correctly. The manual has specific instructions and safety recommendations for your specific model.
- Have ventilation: Make sure your area is well-ventilated to prevent gas buildup. Too much gas can be dangerous while lighting a match.
- Turn off the gas: Turn off your gas valve to clear out gas. Wait a few minutes before starting to let any leftover gas dissipate.
- Check for leaks: Before starting, take a sniff. Try to smell any leftover gas odor in the area. If you smell gas, avoid turning on the pilot light. Instead, exit the area and contact a professional for assistance.
How to Relight Your Water Heater Pilot Light
Follow these steps to relight your water heater pilot light safely:
- Find the assembly: Open the access panel to get to your pilot light and gas control valve.
- Adjust the gas: Move the gas control valve to the “Pilot” position.
- Press and hold the pilot light button: Press and hold the pilot button on the gas control valve to let gas flow to the pilot burner.
- Light the pilot: While holding the pilot button, spark the igniter to relight the pilot light. After the pilot light is lit, continue holding down the pilot button for 30 seconds to a minute.
- Check the flame: Make sure the pilot light flame is strong, steady and blue. If your flame goes out again, repeat the process.
- Turn on the gas control valve: Once your pilot light is on, release the button and turn the gas control valve back to “On.”
- Replace everything: Grab your tools, replace the access panel and secure everything with screws if necessary. Then, adjust the thermostat to the desired temperature setting.
Maintenance Tips to Prevent Pilot Light Issues
Good maintenance is essential for keeping your water heater safe and efficient. With regular maintenance, you prevent problems from popping up and catch issues early before they cause damage. Use these maintenance tips to keep your water heater safe and in top condition:
- Regular inspections: Look over your water heater and pilot light regularly. Ensure the light is burning strong and blue. Yellow and orange flames mean your water heater needs cleaning or maintenance.
- Pilot tube cleaning: Dirt and debris can clog your pilot tube. Regularly clean it to keep everything working correctly. Turn off the gas before using compressed air or a thin wire to clean the tube.
- Check for drafts: Keep drafts out of the area, and seal gaps around windows, doors and vents.
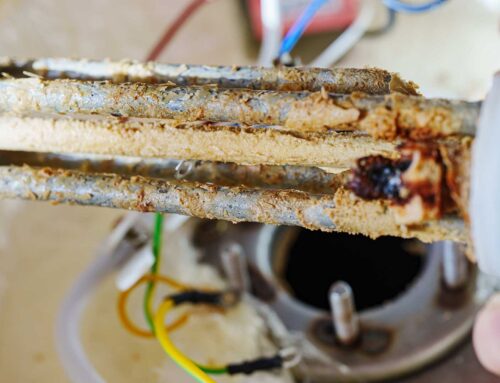
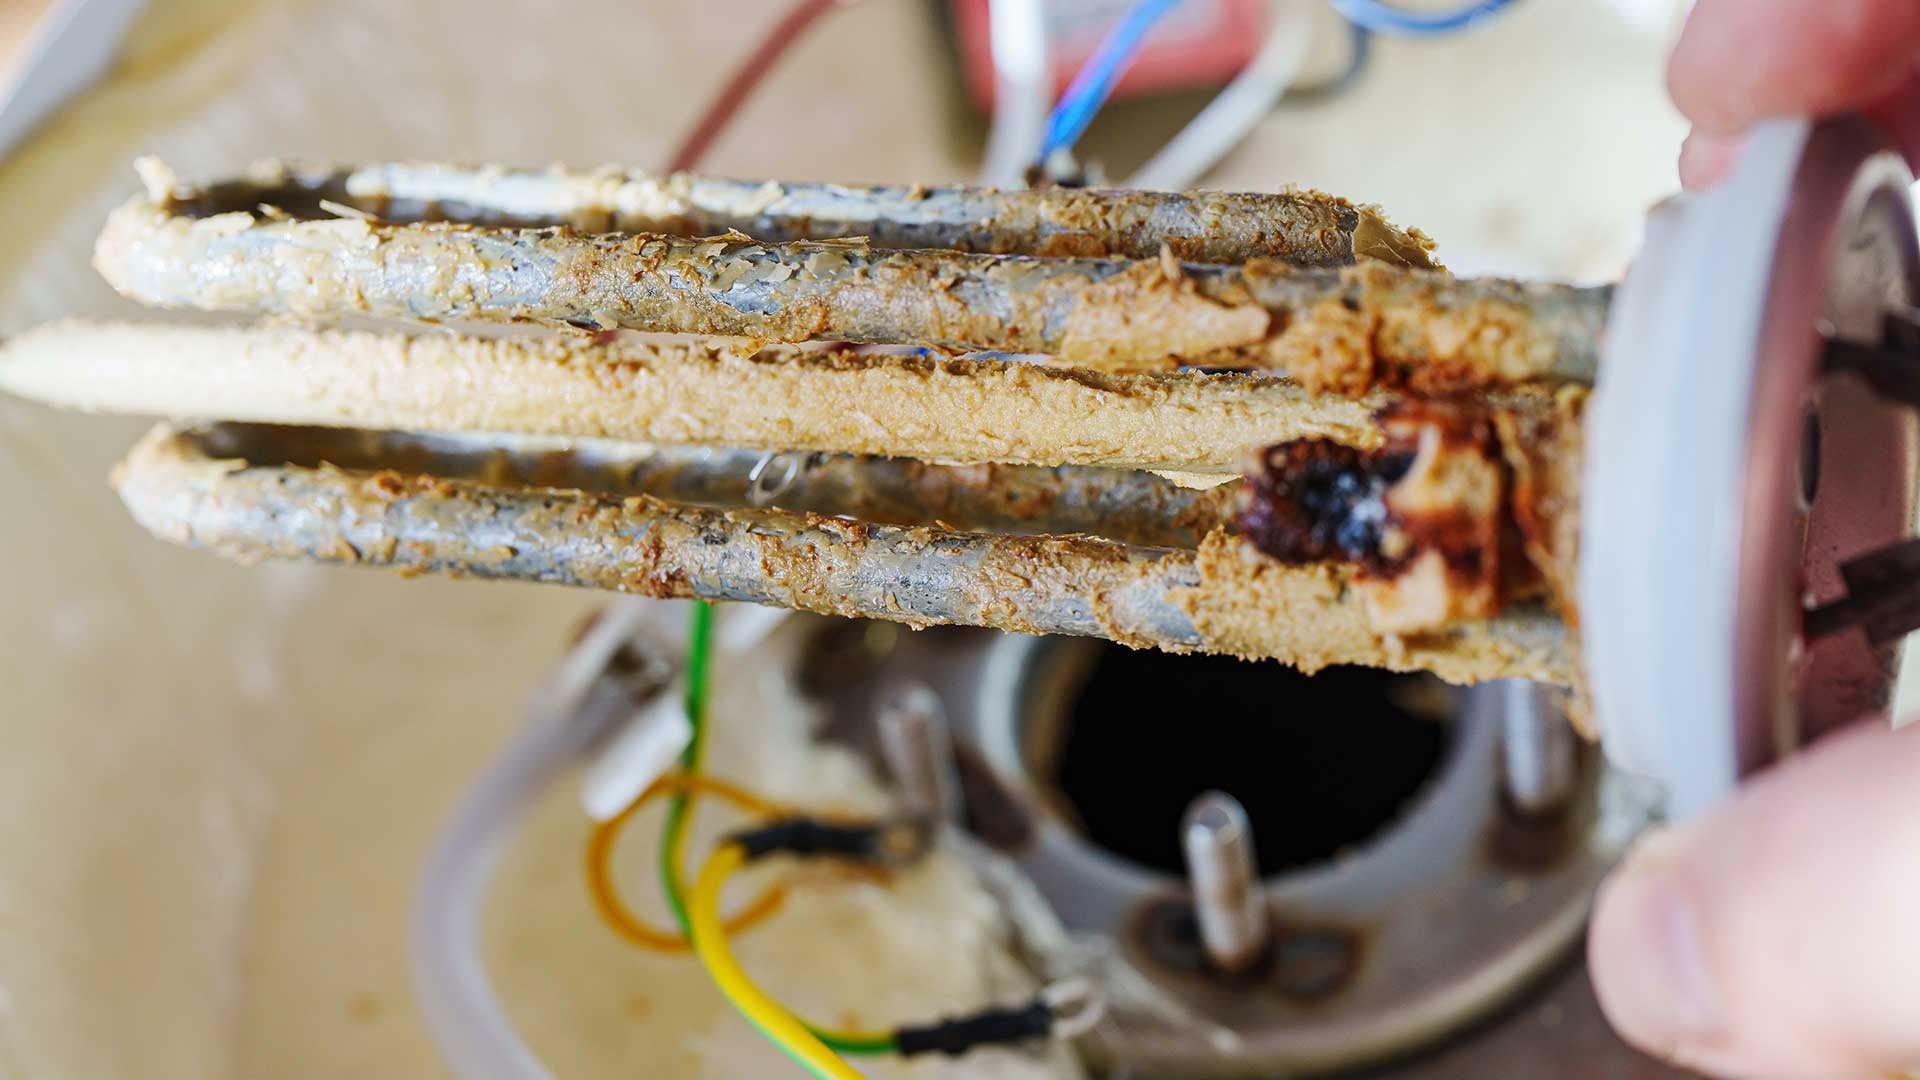
- Look for rust: Look for rust buildup on or around the water heater. You want to keep the appliance clean. If you notice lots of rust, you might have a leak somewhere.
Professional Inspection and Cleaning
While routine at-home maintenance is helpful, you should schedule professional inspections and cleanings annually to keep everything in top condition. Professionals will perform an in-depth inspection, including your water lines, thermocouple and pilot light assembly. They’ll find wear and tear and help you correct it for a longer water heater life. Additionally, they can perform a deep clean and safety check to keep everything efficient and hazard-free.
Contact Barnett Plumbing & Water Heaters
Whether you’re dealing with a malfunctioning water heater or need a reliable maintenance service, Barnett Plumbing & Water Heaters is here to help. Trust our experts for prompt, professional and dependable water heater services in Livermore and the Tri-Valley area. Our experienced team is equipped to handle all your water heater needs. We pride ourselves on delivering long-lasting solutions quickly and efficiently.

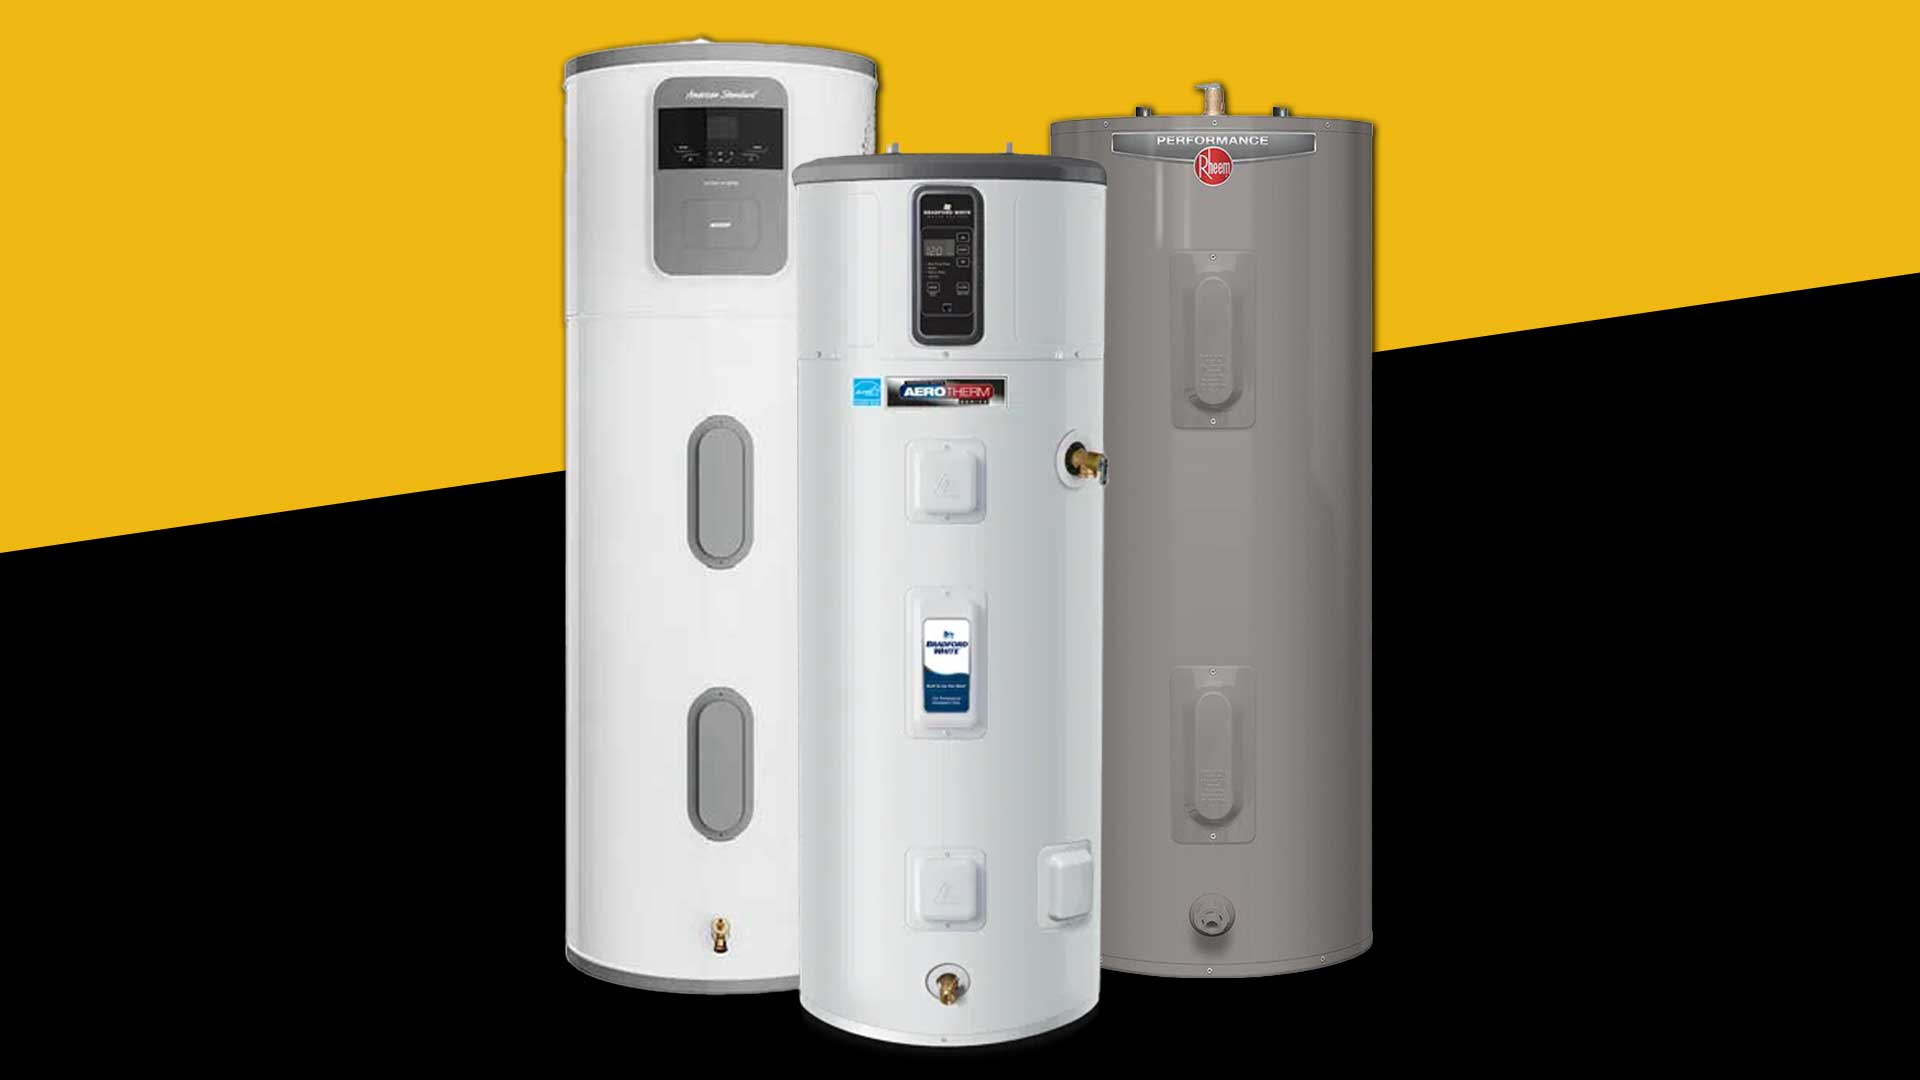
At Barnett, we offer industry-leading warranties and high-quality materials to ensure your water heater performs at its best. Our partnership with Bradford White means you get reliable, American-made tanks backed by generous warranties. Contact us online to schedule your next water heater service today!
