Water heaters are the unsung heroes of our homes, providing us with warm showers, clean dishes, and countless other conveniences. However, regular maintenance is the key to making sure your water heater operates efficiently for as long as possible. This preventative water heater maintenance guide will walk you through everything you need to do to keep your water hot and your household happy.
How Often Do Water Heaters Need Preventative Maintenance?
We recommend flushing your water heater at least once a year. If you have very hard water, you may even want to service your water heater every six months.
By investing in a little maintenance upfront, your water heater will last longer and be more energy efficient.
Can You do Your Own Water Heater Maintenance?
Although you can do your own preventative water heater maintenance, it is always more efficient and safer to have a professional do the work for you.
You won’t have to go out and buy any new tools, put yourself at risk for burns from scalding hot water, or waste your valuable time figuring out how to do routine water heater maintenance on your own.
What Does Preventative Maintenance on a Water Heater Include?
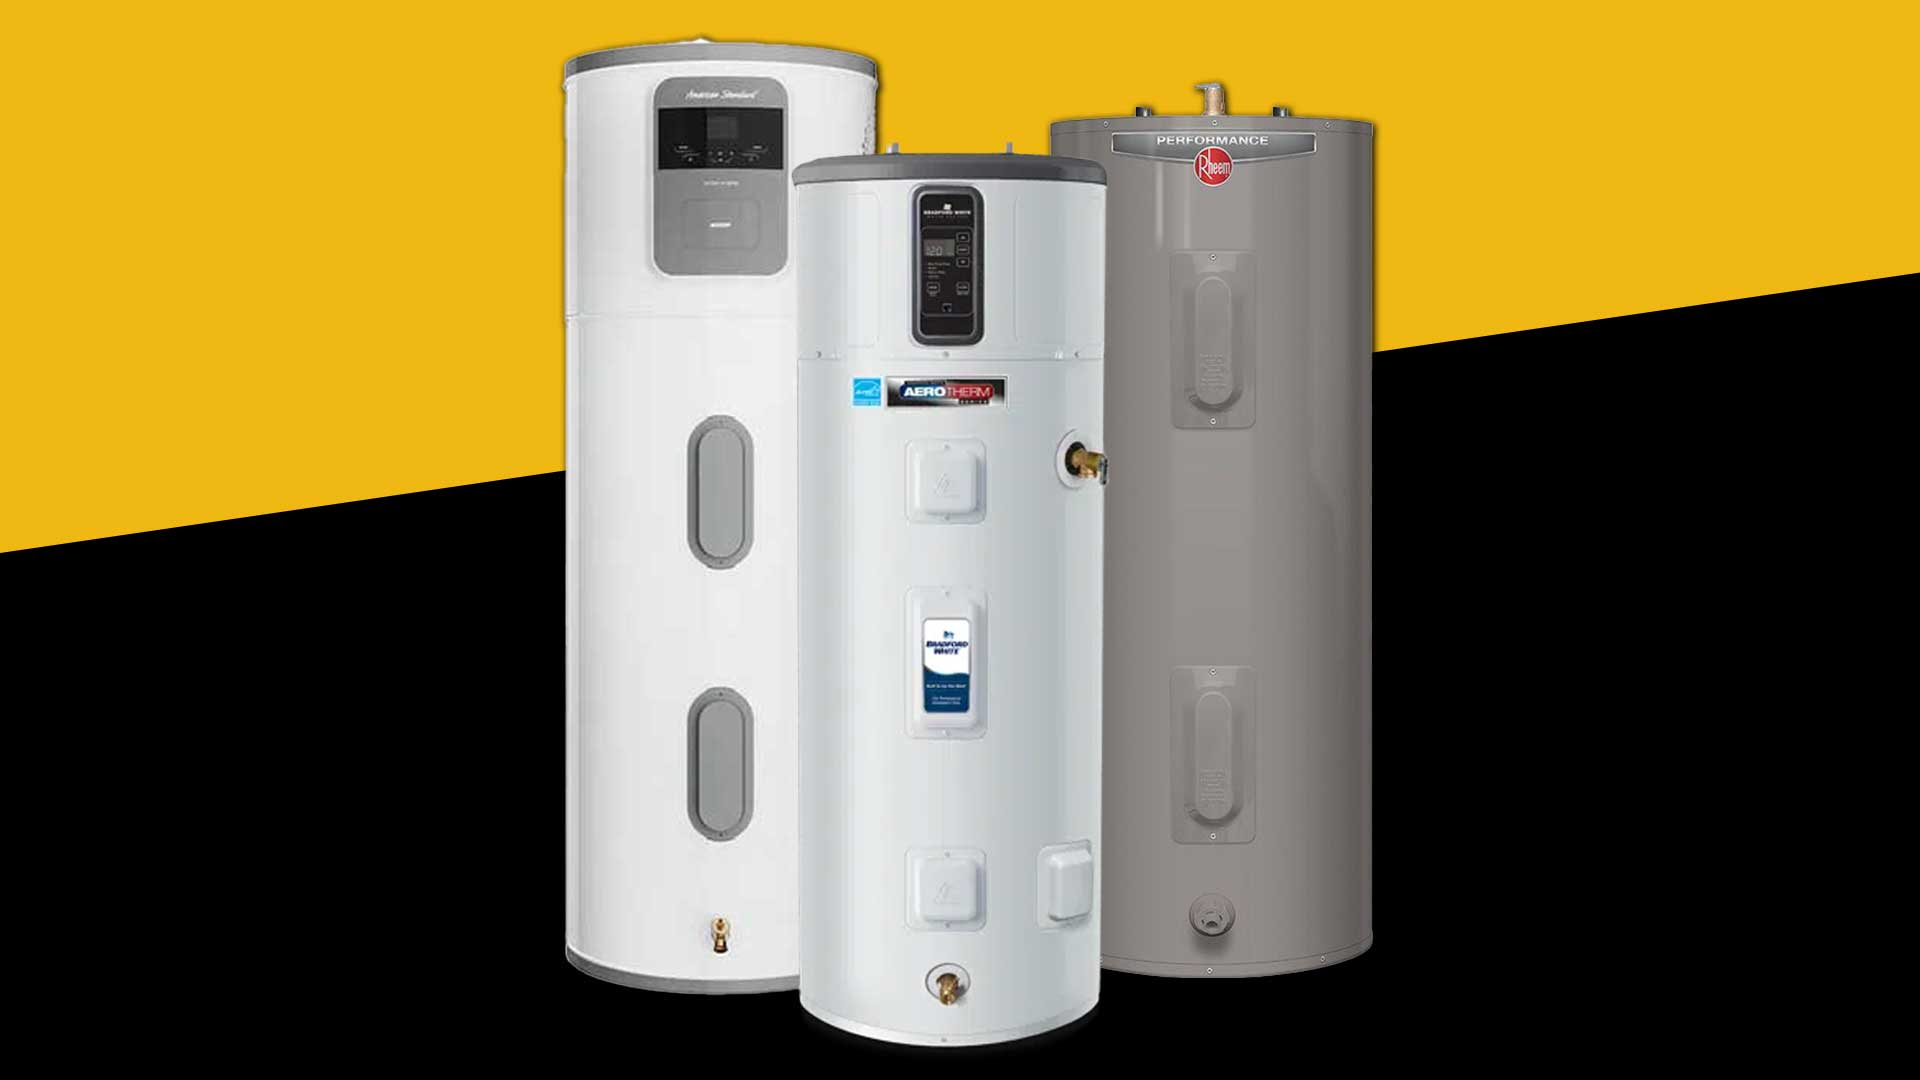
Preventative maintenance varies slightly depending on whether you have a traditional water heater, hybrid water heater or a tankless water heater.
For traditional tank water heaters, the process generally involves these 5 steps:
- Prep your Water Heater for Maintenance: First and foremost, you will want to disconnect your water heater’s power source.
Then, you’ll turn off the main water source to keep from making a mess.
Next, you will want to turn on the hot water faucet somewhere in the house. No water should come out since you’ve already disconnected your water heater. You are doing this just to help relieve pressure in the pipes.
- Check the T&P Valve: The T&P Valve, or the temperature and pressure relief valve, is a safety feature that water heaters have to prevent water heater tanks from building up too much pressure and exploding.
To test it, you’ll want to put a bucket underneath the relief valve discharge pipe and then lift the relief valve lever. If water comes out, your T&P valve is working correctly. If nothing comes out, your T&P valve likely needs to be replaced.
- Relieve the Pressure in the Tank: To relieve a little pressure in your tank, you’ll want to connect a hose to your water heater tank’s drain valve. Next, direct the hose to a drain and then open the spigot long enough to let out a few gallons of water.
The water coming out will be very hot, so don’t touch the hose after you’ve opened the tank’s drain valve. After you’ve let out a bit of water, close the valve.
- Inspect the Anode Rod: The anode rod, often called the sacrificial anode rod, attracts corrosive elements so that it will corrode before your water heater does. Checking it regularly helps prevent a water heater disaster.
To check your anode rod, you will first have to open up the top of your tank and locate the anode rod. You’ll want to look at your water heater’s user manual for specific instructions on where your tank’s anode rod is located and the best way to open your tank.
If your anode rod is over 75% corroded, it will need to be replaced. Anode rods usually need to be replaced every 3-5 years.
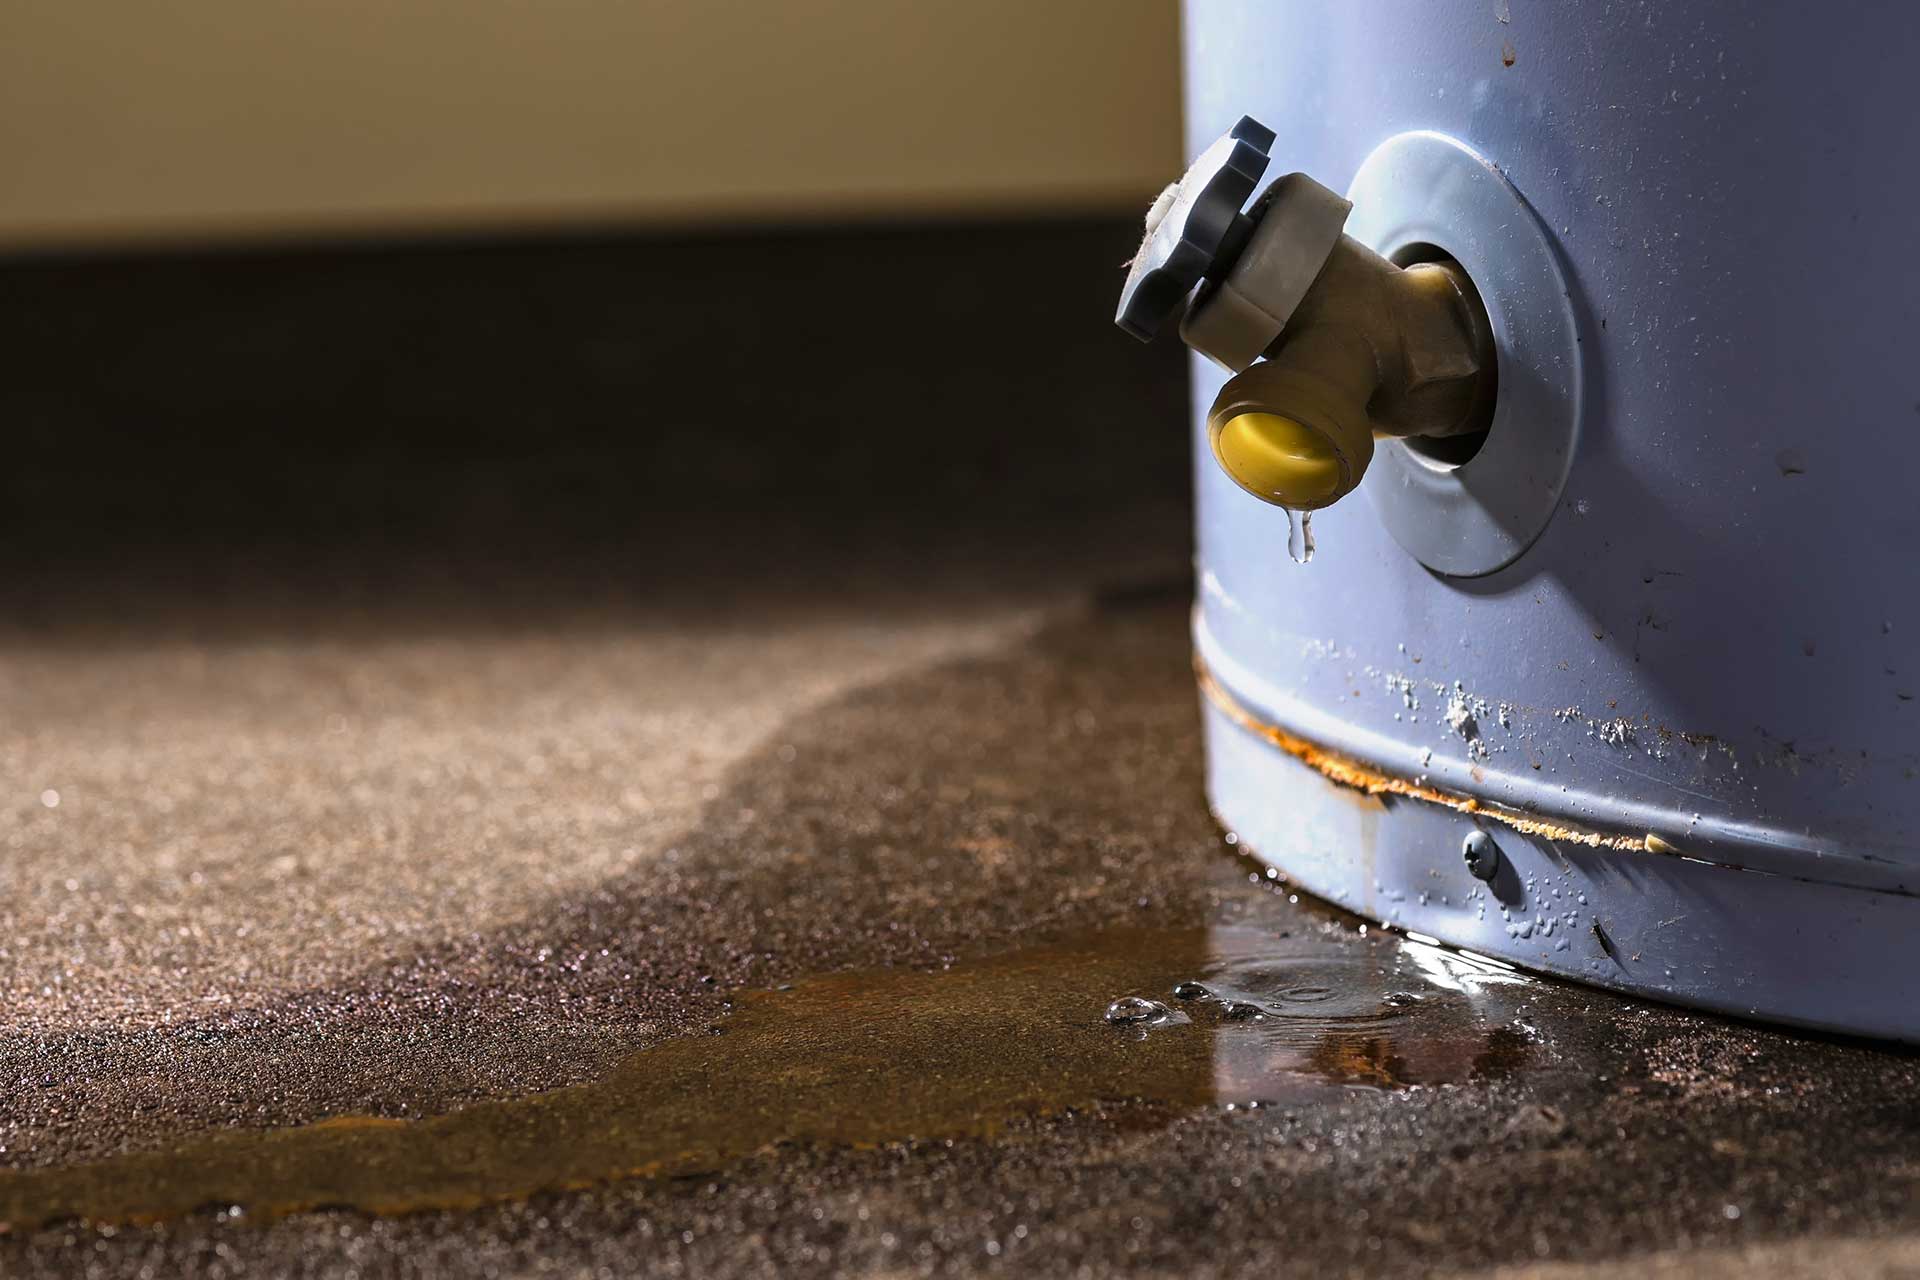
- Flush the Tank: Sediment build up reduces the energy efficiency and lifespan of your water heater. Flushing your water heater tank each year helps remove these deposits and keep your water heater working optimally.
To flush the tank, you’ll want to open the drain valve again. (Make sure your drain valve is still connected to a hose leading to a drain.) Let the water drain until nothing else comes out. Once the tank is empty, close the drain valve and disconnect the hose.
Then, open all the hot water spigots in the house and turn on the cold water inlet to refill the tank. As water begins to flow from your hot water faucets, turn them off.
Once all your faucets are off, you’ll turn your water heater back on. Your water heater is officially all cleaned up and ready for another year of use!
What Tools Do I Need to Do Preventative Maintenance on My Water Heater?
Having the right tools can make proper water heater care easier and more effective. Here’s a list of tools you may need:
- Adjustable wrench
- Garden hose (one that can withstand high heat)
- Large Bucket (again, that can withstand high heat)
- Screwdriver
- Replacement anode rod (only needed every 3-5 years)
Tankless Water Heater Maintenance
Although tankless water heaters require less maintenance, they still need yearly attention to operate optimally. Here are the four steps for tankless water heater maintenance:
- Prepare the Unit for Maintenance: Turn off the power source and the water intake valves.
- Relieve Pressure: Look for caps with a T-shaped handle. To relieve pressure and to keep from burning yourself, pull up on the T-shaped handle.
- Clean the Air Filter: Remove the air filter and make sure it is free of debris or build up. If it is dirty, you can use a vacuum or soft brush to clean it. Once it is clean and dry, you can put the air filter back in your unit.
- Flush The Unit: Sediment build up can still happen with tankless water heaters. To prevent that, you’ll want to drain and descale your unit each year.
First, you’ll need to connect a hose to your water heater that leads to a drain or large bucket. Then, drain out the hot water. Remember the water will be very hot so be careful not to touch it.
Next, connect the other end of the hose to a submersible pump that you will then put in a 5-gallon bucket full of vinegar or tankless water heater cleaning solution. Turn on the cold water supply and run the cleaning solution through your tank for about 45 minutes.
After that, turn off the water supply again and drain your water heater one last time. Once no water is coming out, you can disconnect the hose, close the valves, and turn your unit back on. Now your water heater is ready to heat another year’s worth of water with increased energy efficiency.
We have over 1,000 five star reviews!
See what our happy customers have to say about Barnett Plumbing and Water Heaters
What Tools Do I Need For Tankless Water Heater Preventative Maintenance?
The tools needed for tankless water heater maintenance are similar to those needed for regular, tank-style electric water heaters and gas water heaters. There are just a few additions to the list:
- Adjustable wrench
- Garden hose (one that can withstand high heat)
- Large Bucket (again, that can withstand high heat)
- Screwdriver
- Vacuum or soft brush
- Submersible pump
- Distilled vinegar or tankless water heater cleaning solution
A Complete Preventative Water Heater Maintenance Checklist
If that feels like a lot of remember, you’ve got two options:
- If you’re in Livermore, CA or the surrounding area, just call us at (925) 294-0171 and we will come do it all for you.
- Follow this simple checklist to help you cover all the bases in your preventative water heater maintenance:
Regular Tank-Style Water Heater Maintenance Checklist:
☐ Prepare your tank for maintenance
☐ Check the T&P valve
☐ Inspect and replace the anode rod if more than 75% corroded
☐ Drain and flush the tank
☐ Set a reminder on your calendar to do it again next year
Tankless Water Heater Maintenance Checklist:
☐ Prepare the unit for maintenance
☐ Relieve pressure
☐ Clean the air filter
☐ Flush and descale the unit
☐ Set a reminder on your calendar to do it again next year
Prevention Prevents Water Heater Problems
Remember, proper preventative maintenance is the key to a long-lasting, energy efficient water heater. Taking care of your water heater each year can save you time, money, and hassle in the long run.
Schedule Your Free On-Site Estimate Today!
Call (925) 294-0171 to schedule an appointment for your yearly preventative water heater maintenance today. We will help you keep that hot water flowing without all the fuss of figuring it out yourself.